Easy Mobile Device Management for iOS and Android
Everything you need to secure, manage and monitor iPhones, iPads and Android devices in your organization.
NEW: Now with integrated Mobile Content Manager →


Everything you need to secure, manage and monitor iPhones, iPads and Android devices in your organization.
NEW: Now with integrated Mobile Content Manager →
Set up and secure smartphones and tablets in no time at all. Regardless of whether it’s an organization’s own or a private device – with Cortado MDM, you’re ready to go right away and can manage mobile devices easily and securely via your central MDM console.
Just sign up and you’re ready to start. Templates for BYOD, COPE, kiosk mode and other deployment methods help you to set up mobile device management within minutes.
Cortado MDM is designed to deliver compliance with the world’s toughest privacy challenges like SCC, HIPAA, CCPA and GDPR.
Our team in Denver, Colorado, is always ready to support you. So are our team members in other locations around the globe.

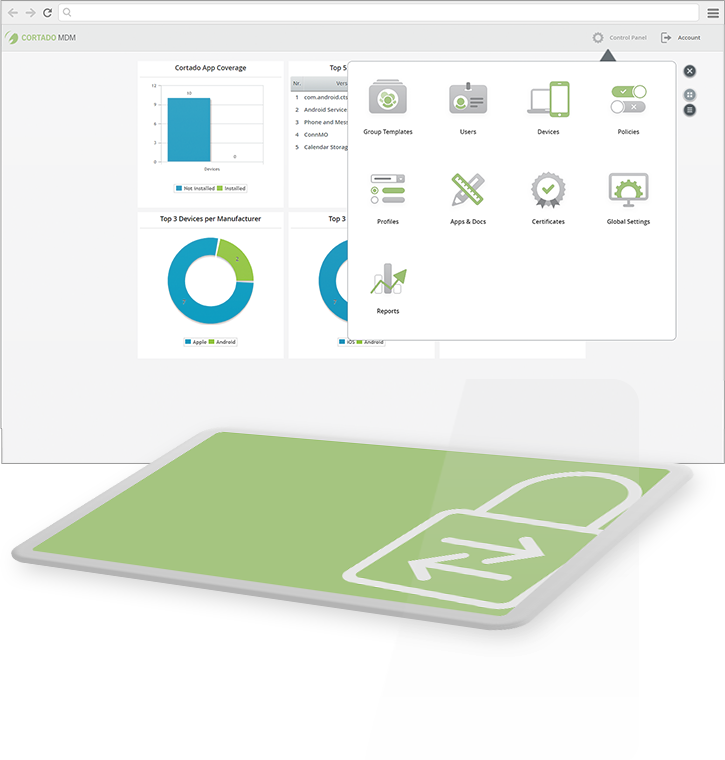
Set up smartphones and tablets from your central MDM console and conveniently control settings, apps, and updates remotely.
Group templates let you configure and manage MDM settings for entire groups of users. Users can be added manually or imported from the Windows Active Directory.
Share apps from public app stores or self-developed apps. Simply make your curated apps available in your own app store or push apps to devices with a few clicks.
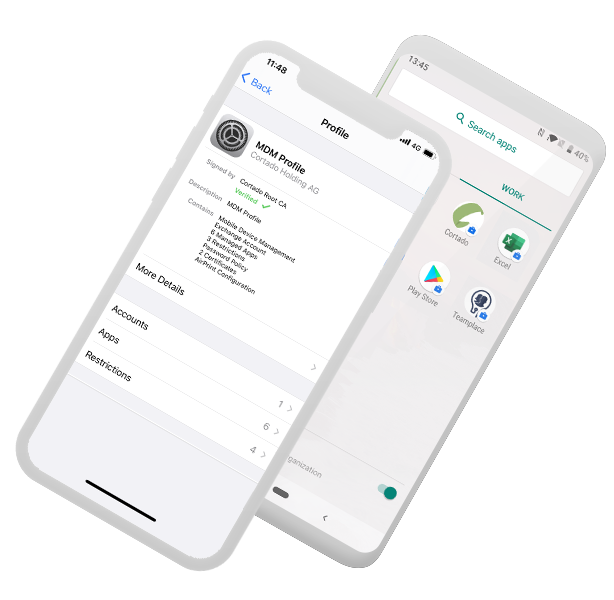
Help keep sensitive data secure. If devices are used for business and private purposes, Cortado MDM ensures the strict separation of both data sets.
Make configurations for email, Wi-Fi and VPN settings in one central place and transfer the profiles and updates to the devices at the touch of a button.
Block access to device features, such as camera, Wi-Fi, or Bluetooth, and prevent app store access or file downloads according to your security policies.
If a device is lost, you can lock it remotely to prevent unauthorized access. You can also remotely wipe data and locate the device.
Get all the tools you need to operate smartphones and tablets in compliance with HIPAA, SCC, CCPA, EU-GDPR and other privacy regulations.
With Cortado MDM, you remain flexible with your choice of devices. Our solution integrates seamlessly with Google and Apple’s own device management features, offering greater convenience and security.
Streamline device setup using Android zero-touch. Android Enterprise features let you fully manage company-owned devices or activate a work profile to easily manage business apps and separate data from the user’s private space, for example as part of a BYOD program.
Apple Business Manager, Apple School Manager and Automated Device Enrollment: Cortado MDM works seamlessly with all of Apple’s solutions for device management. If personal devices are used, data separation keeps sensitive data safe and under control.
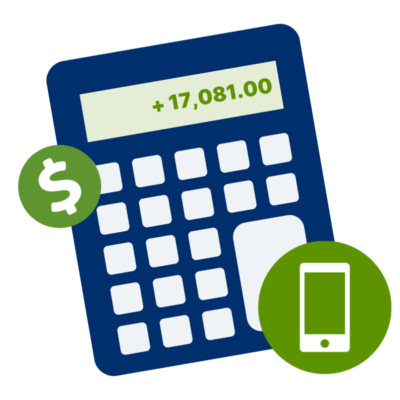
Would you like to know the actual ROI our mobile device management solution provides? Use our ROI calculator and discover the full potential of your investment!